Inkscape: Strokes and Fills
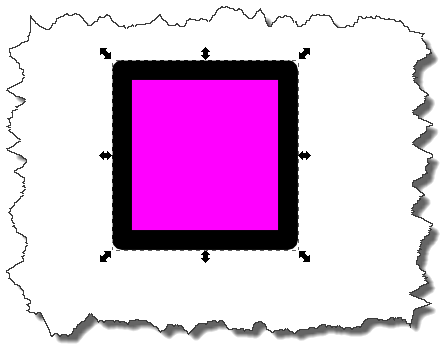
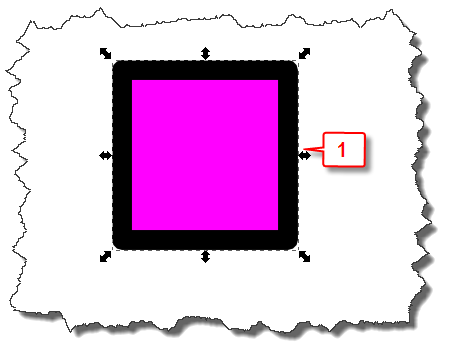
Every object you create in Inkscape can have two parts: a stroke and a fill. The stroke outlines the object; the fill fills the interior. You can choose to have a stroke or not have a stroke and you can set the size, color, opacity, blur, and style of a stroke. You can choose to have a fill or not have a fill and you can adjust the color, opacity, blur, and style of a fill.
In this lesson, we are going to focus on setting a stroke, adjusting its size, and changing its color; setting a fill, and changing its color. There are several ways to change color. This lesson focuses on using the Color Selector. I will discuss the other methods and go into more detail in a future lesson.
Add or Change the Fill Color
- Draw or select an object.
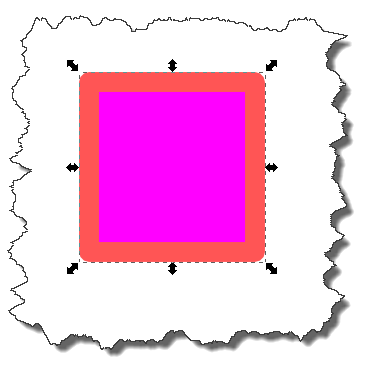
- On the Color Selector, click the color you want. Inkscape changes the fill to the color you selected.
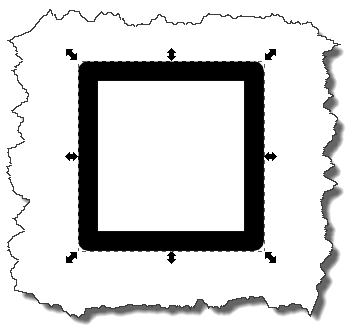
Remove a Fill
Remove a Stroke
- Draw or select an object.
- On the Color Selector, hold down the Shift key while you click
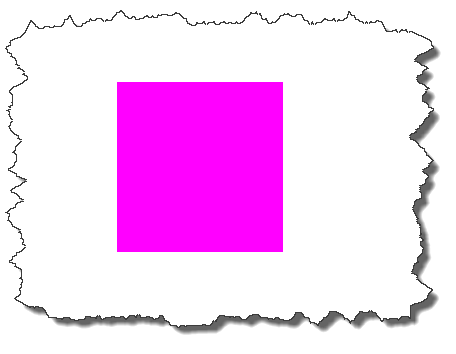
 . Inkscape removes the stroke.
Add or Change a Stroke
- Draw or select an object.
- On the Color Selector, hold down the Shift key while you click the color you want. Inkscape changes the stroke to the color you selected.
Change the Width of a Stroke
- Draw or select an object.
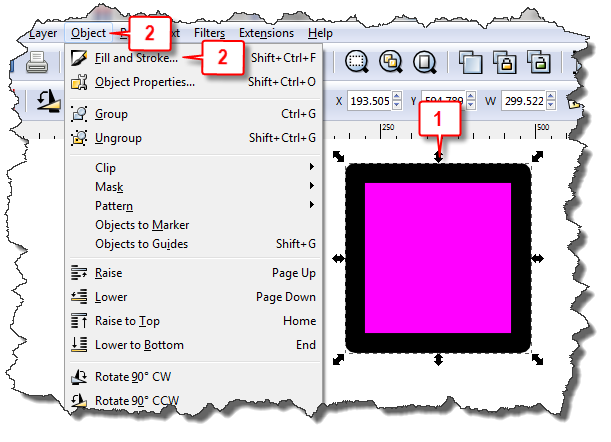
- Click Object > Fill and Stroke or press Shift + Ctrl + F. The Fill and Stroke dialog box opens.
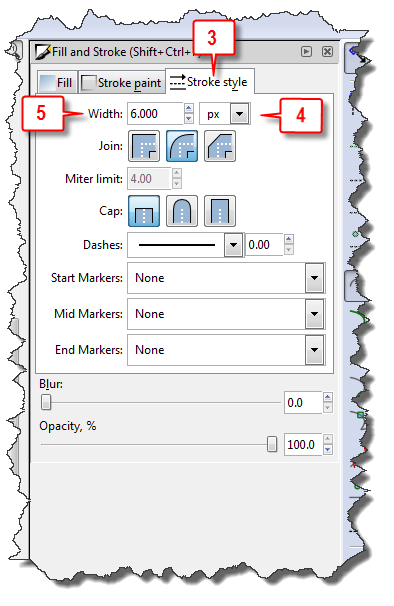
- Choose the Stroke Style tab.
- Select your unit of measure.
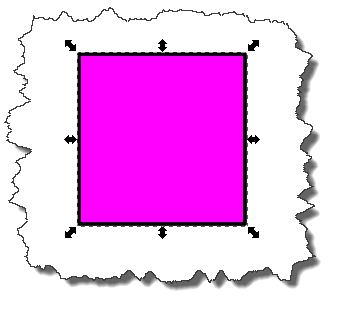
- Type the width you want. Inkscape changes the width of the stroke.





Hi I have a issue when filling with paint bucket and using fill and strokes I still get not a solid fill.I read all the help online but they say to use paint.net and make vector color images..the problem with paint.net is it saves as bitmapped images and still don’t really understand how to use them to fill but paint.net can save DDS files..are these vector images or is my version 3.5.7 too old?I’m using 1.2 Inskape and love it but have so many times run into gaps in-between two objects and using nodes are just so tedious as filling should fix that problem yet using nodes on it’s own is really great.
I have an issue that I keep facing every now & then. I frequently have to draw thick curved lines with thin black colored outlines but……
When I choose fill, the entire sectoral or quadrant area within open, curved lines drawn with bezier tool keeps getting filled with the fill color, instead of just the area within the line.
On few occasions though, I have been successful and have managed to draw curved lines with outlines. Where am I going wrong (or right sometimes)?
Thank you. Seriously, just…thank you.