Excel: Add Borders
A border is a line placed to the left, right, top, or bottom of a cell, group of cells, or table. You can select the style and color of borders. There are three ways to add a border: selecting a border option from the Borders section of the Borders Menu, drawing a border, or using the Borders tab in the Format Cells Dialog box.
The Borders Section of the Borders Menu
When you click the down-arrow next to the Border button, Excel displays a menu of border options. You can add a border quickly by selecting an option from the Borders section of the menu. In the following table, I explain each option.
| Borders Section of the Borders Menu Options | |
|---|---|
| Border Option | Function |
Bottom Border  |
Places a border on the bottom of your selection |
Top Border  |
Places a border on the top of your selection |
Left Border  |
Places a border on the left side of your selection |
Right Border  |
Places a border on the right side of your selection |
No Border  |
Removes all borders |
All Borders  |
Places a border on the top, bottom, left, and right sides of every cell in your selection |
Outside Borders  |
Places a border on the top, bottom, left, and right sides of your selection |
Thick Box Border  |
Using a thick line, places a border on the top, bottom, left, and right sides of your selection |
Bottom Double Border  |
Places a double border at the bottom of your selection |
Thick Bottom Border  |
Using a thick line, places a border at the bottom of your selection |
Top and Bottom Border  |
Places a border at the top and at the bottom of your selection |
Top and Thick Bottom Border  |
Places a border at the top of your selection and, using a thick line, places a border at the bottom of your selection |
Top and Double Bottom Border  |
Places a border at the top of your selection and, using a double line, places a border at the bottom of your selection |
Use the Borders Section of the Borders Menu to Add a Border
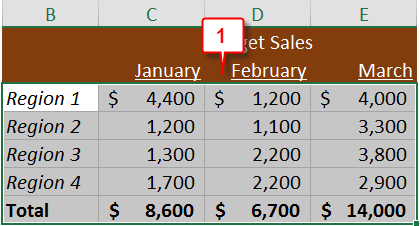
- Select the cells.
- Choose the Home tab.
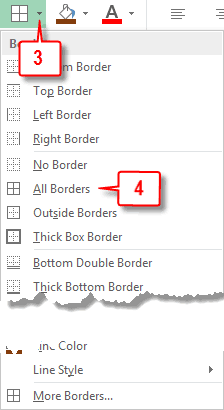
- Click the down-arrow next to the Borders button. A menu appears.
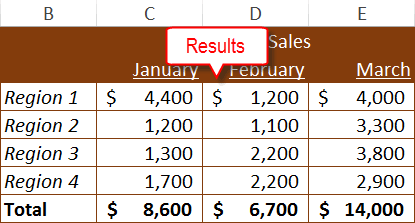
- Click the border type you want. Excel adds the border.
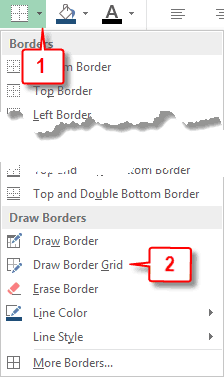
Draw a Border
The Draw Borders section of the Borders menu has five options. In the following table, I explain each of them.
| Draw Borders | |
|---|---|
| Option | Function |
Draw Border  |
Turns your mouse pointer into a pencil  . As you drag, draws an outside border. You can click a cell edge to place a border on the cell edge. . As you drag, draws an outside border. You can click a cell edge to place a border on the cell edge. |
Draw Border Grid  |
Turns your mouse pointer into a pencil with a grid  . As you drag, draws an all sides border. You can click a cell edge to place a border on the cell edge. . As you drag, draws an all sides border. You can click a cell edge to place a border on the cell edge. |
Erase Border  |
Turns your mouse pointer into an eraser. Removes borders. You can click a cell edge to remove the border. |
Line Color  |
Opens a color menu. Turns your mouse pointer into a pencil. Use the menu to select a line color. Use the pencil to draw borders. You can click a cell edge to place a border on the cell edge. |
| Line Style | Opens the line style menu. Turns your mouse pointer into a pencil. Use the menu to select a line style. Use the pencil to draw borders. You can click a cell edge to place a border on the cell edge. |
To me, how the Draw Borders options work is quirky. When you select one of these options, your mouse pointer turns into either a pencil or an eraser. Use the pencil to draw borders. Use the eraser to remove borders. Press the Esc key when you have finished drawing or removing borders. Your mouse pointer will return to its normal state.
Why do I think this is quirky? Well, when you select a Line Color option or a Line Style option, I expect Excel to set the option and do nothing more. That is not what happens. When you select a Line Color option or a Line Style option Excel sets the option and turns your mouse pointer into a pencil. You can use the pencil to draw your borders. If, instead, you want to select a border from the Borders section of the menu or you want to use a different type of pencil, you must press the Esc key and then select the option you want.
Once you have selected a line color or a line style that selection is set. What I mean by that is, if, after you have selected a line color or line style you make a selection from the Borders section of the Borders menu, or if you draw a border, Excel will use the line color and line style you last selected.
The following is true for most buttons, but is particularly noticeable with borders. If there is a down-arrow next to a button, when you click the down-arrow and then select an option from the menu or gallery that appears, your selection becomes the button option. If you want to reapply the option, you do not have to click the down-arrow again, you can simply click the button.
Draw a Border
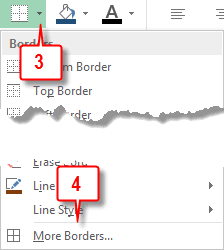
- Click the down-arrow next to the Borders button.
- Click a drawing option. Your mouse pointer turns into a pencil.
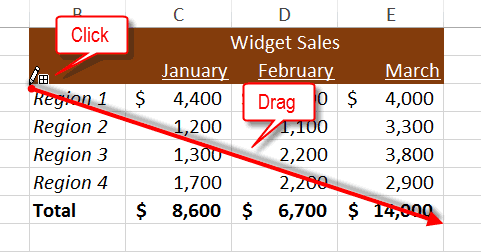
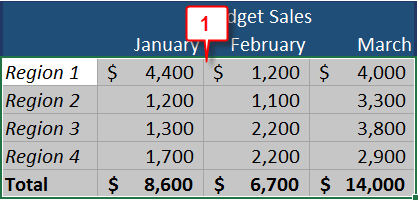
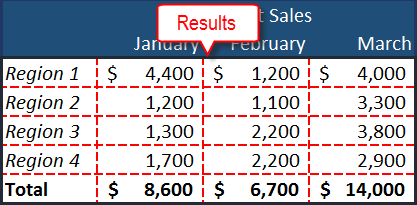
- Click and drag to draw a border .
Note: It is not shown in the illustration; but, instead of clicking and dragging, you can click individual cell edges to place borders on them.
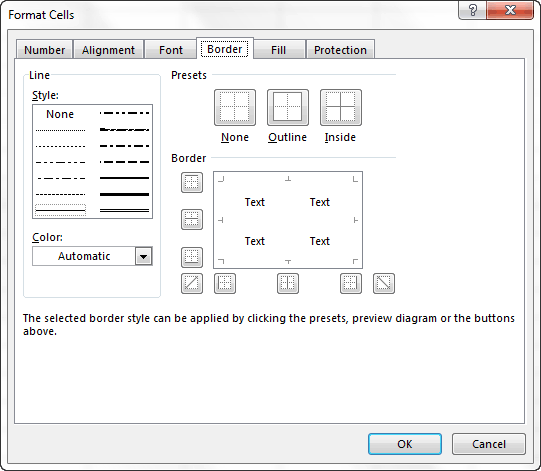
The Border Tab in the Format Cells Dialog Box
When you click the down-arrow next to the Borders button and then click More Borders, Excel opens the Format Cells dialog box with the Border tab selected. You can use the Border tab to style your borders any way you want. The following explains the options on the Border tab:
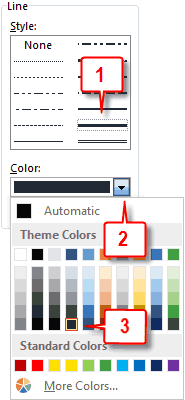
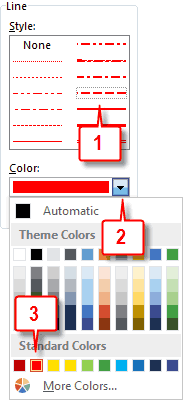
Style: Use the Style box to choose a line style. Click the style you want.
Color: Use the Color box to choose a border color. Click here, to learn more about colors. To apply a color, click the down-arrow next to the Color field; then choose the color you want.
Presets: The presets area contains several toggle buttons. Clicking a button either applies or removes a border. For example, you can click the Outline button to apply an outside border; then click it again to remove the border.
None: Click the None button  to remove all borders from your selection.
Outline: Choose a style and color; then click the Outline button  to place a border on the top, bottom, left, and right sides of your selection.
Inside: Choose a style and color; then click the Inside button  to place a border on the top, bottom, left, and right sides of the cells inside your selection, but no border on the top, bottom, left, and right sides that outline your selection.
Border: The border area also contains several toggle buttons.
Top Border: Choose a style and color; then click the Top Border button  to place a border on the top edge of the selected cells.
Inside Horizontal: Choose a style and color; then click the Horizontal Border button  to place a horizontal border between each of the selected cells.
Bottom Border: Choose a style and color; then click the Bottom Border button  to place a border on the bottom edge of the selected cells.
Diagonal Up Border: Choose a style and color; then click the Diagonal Up button  to place a line that goes from the bottom left corner to the top right corner of the selected cells.
Left Border: Choose a style and color; then click the Left Border button  to place a border on the left edge of the selected cells.
Inside Vertical: Choose a style and color; then click the Vertical Border button  to place a vertical border between each of the selected cells.
Right Border: Choose a style and color; then click the Right Border button  to place a border on the right edge of the selected cells.
Diagonal Down Border: Choose a style and color; then click the Diagonal Down button  to place a line that goes from the top left corner to the bottom right corner of the selected cells.
You can also click on the graphic in the center of the Border area to apply a border. For example, you can choose a style and color; then click the bottom of the graphic to create a bottom border. The graphic that appears depends on what you select.
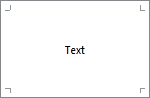
Single Cell
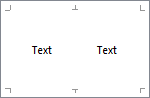
Multiple Columns in a Row
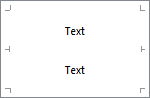
Multiple Rows in a Column
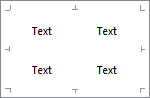
Multiple Rows and Multiple Columns
Use the Border Tab in the Format Cells Dialog Box
- Select the cells.
- Choose the Home tab.
- Click the down-arrow next to the Borders button in the Font group. A menu appears.
- Click More Borders. The Format Cells dialog box opens with the Border tab selected.
Apply a Preset or Border
- Click the line style you want.
- Click the down-arrow next to the Color field
- Click the color you want.

- Click a Preset button or a Border button if you want to apply a preset or a border. Excel applies your preset or border.
Click to Add a Border
- Click the line style you want.
- Click the down-arrow next to the Color field.
- Click the color you want.

- Click where you want to add a border. Repeat the Click to Add a Border steps until you have completed your borders.
- Click OK. Excel adds your borders.
Leave a Comment